Did you know that Venmo currently has more than 60 million users and is projected to reach over 90 million by the end of 2024?
As one of the most widely used money transfer apps, learning how to set up a Venmo account is a valuable skill in today’s digital world. The good news is that creating a Venmo account is quick and easy, taking just a few minutes of your time. You can even connect your bank account in under a minute if you use a national banking organization.
Over the years, Venmo has become increasingly popular because it makes peer-to-peer transactions simple and hassle-free. Whether you’re splitting dinner bills with friends, paying your share of rent, or sending money to family members, setting up Venmo is your first step toward seamless digital payments.
In this beginner’s guide, we’ll walk you through the exact steps to get Venmo up and running on your device. From downloading the app to making your first transaction, you’ll learn everything you need to know about how to open a Venmo account and start using it right away.
Step 1: Download and Install the Venmo App
The first step in setting up your Venmo account begins with downloading the official app to your smartphone or tablet. Unlike many financial platforms, Venmo operates exclusively as a mobile application, making this download an essential starting point.
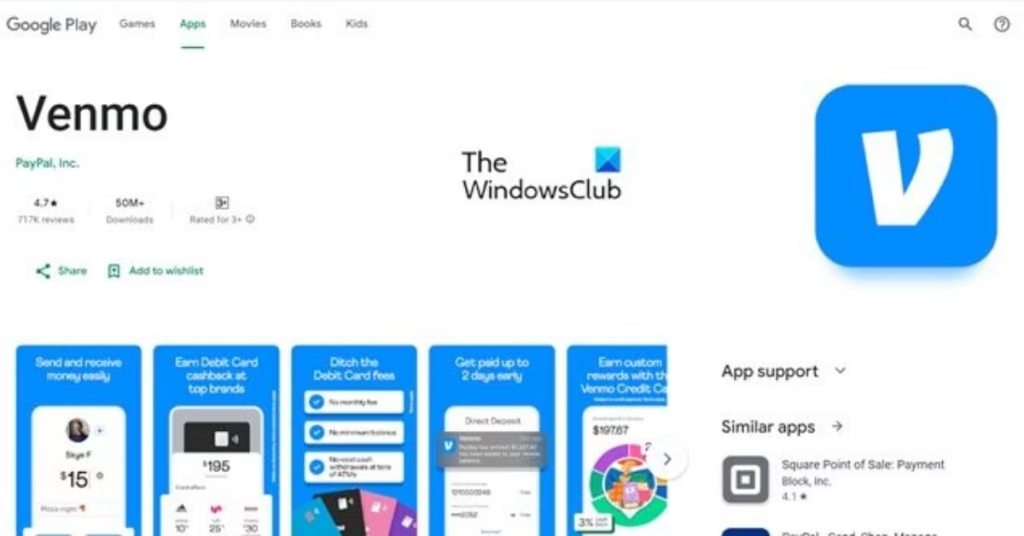
Where to find the app for iOS and Android
Venmo is readily available on both major mobile platforms through their official app stores. You can download the app in several ways:
- For iPhone and iPad users: Visit the Apple App Store and search for “Venmo.” The app is free to download and takes up minimal storage space on your device. You can also scan the QR code on Venmo’s official website to be directed straight to the download page.
- For Android users: Head to the Google Play Store and search for “Venmo.” Similar to the iOS version, the Android app is free to download and offers identical core functionality.
- Direct from Venmo’s website: Visit venmo.com/getvenmo where you’ll find direct links to both app stores along with a QR code for quick access.
When downloading, always ensure you’re getting the authentic Venmo app by checking that the developer is listed as “Venmo” and the app has millions of reviews. This precaution helps avoid potential scam applications.
Device requirements and compatibility
Before downloading, check if your device meets the minimum requirements to run Venmo properly:
For iOS devices:
- Requires iOS 14.0 or later
- Compatible with iPhone, iPad, and iPod touch
- Also works with Apple Vision (requires visionOS 1.0 or later)
For Android devices:
- Requires Android Lollipop (API 26) or higher
- Some sources indicate Android 6.0 (Marshmallow) as the minimum requirement
General requirements for all users:
- You must be physically located in the United States to use Venmo
- Your device must support a U.S.-based cell phone number that can receive text messages from short codes
- The phone number cannot be associated with another Venmo account
- Your app version should be 7.38.2 or newer for basic functionality
Additionally, specific features may have their own requirements. For instance, the “Tap to Pay on Android” feature (which allows business profile owners to accept contactless payments) requires Android Oreo or later.
To verify your Venmo app version after installation, simply open the app and go to the Settings page. The version number appears at the bottom of this screen. Keeping your app updated ensures you have access to the latest features and security improvements.
Once you’ve confirmed your device meets these requirements and successfully downloaded the app, you’re ready to move on to creating your actual Venmo account. The installation process is straightforward—simply follow your device’s standard app installation prompts, and within moments, you’ll have Venmo ready to launch.
Step 2: Create Your Venmo Account
Once you’ve installed the Venmo app on your device, creating your account is the next crucial step. The signup process is straightforward, requiring just a few minutes to complete.
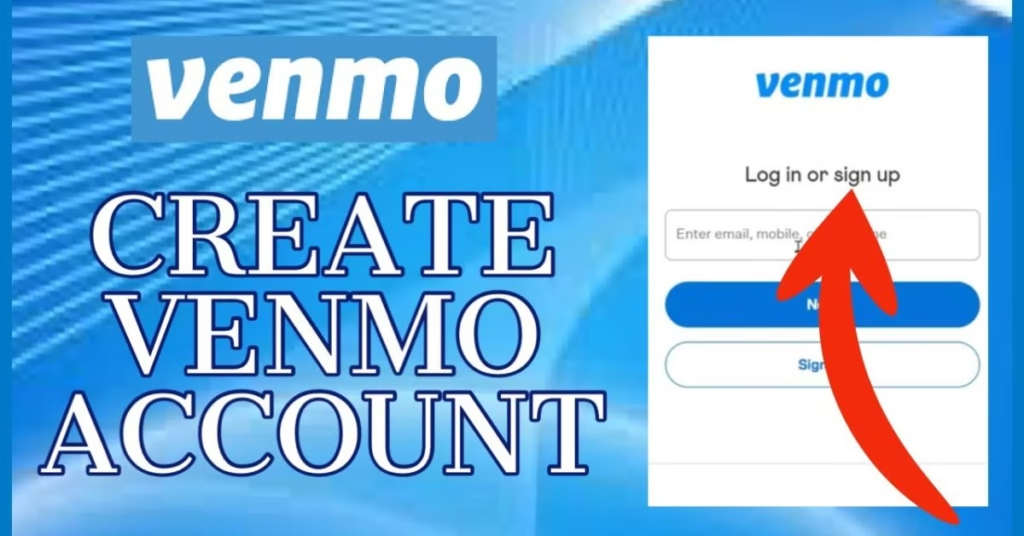
Sign up with email or Facebook
After opening the Venmo app, you’ll immediately see two signup options at the bottom of your screen: “Sign up with Facebook” or “Sign up with email.” Both methods work effectively, though each has distinct advantages.
Email signup: This option gives you more control over your privacy. Many security experts recommend signing up with email rather than connecting through social media platforms. This approach limits the amount of personal information shared between applications and creates a more isolated account structure.
Facebook signup: Choosing this option streamlines the process as Venmo automatically imports your information. Simply tap “Continue” and grant the necessary permissions. While convenient, remember that this method allows data sharing between Facebook and Venmo.
Furthermore, if you’ve previously created a Venmo profile but don’t remember, you can simply try to log in using your email, phone number, or username and password.
Enter your personal details
Regardless of which signup method you choose, you’ll need to provide certain personal information:
- First and last name (legal name)
- Email address (use one you regularly check)
- Phone number (must be US-based and able to receive text messages)
- Username selection (optional, but recommended)
Venmo will suggest a username, yet you’re free to choose something unique. The app will notify you if your preferred username is unavailable, so be prepared to try several options.
Once you’ve entered this information, you’ll need to read and accept Venmo’s User Agreement and Privacy Policy before proceeding. This step is important as it outlines how your information will be used.
Notably, Venmo requires your legal name during signup primarily to facilitate identity verification. As a regulated money transfer service, Venmo must verify users’ identities to comply with financial regulations.
Set a secure password
Creating a strong password is essential since you’ll be handling financial transactions. Follow these password guidelines:
- Must be between 8 and 20 characters long
- Should contain at least one number or symbol (like !@#$%)
- Consider using 12+ characters for enhanced security
While Venmo’s minimum requirement is 8 characters, security experts recommend using at least 12 characters for truly strong password protection. Consider using a combination of uppercase letters, lowercase letters, numbers, and special characters to maximize security.
Following password creation and personal information entry, you’ll proceed to verification steps. Venmo will send a code to your phone number which you must enter to confirm your device. Similarly, you’ll need to verify your email address through a confirmation link.
During signup, Venmo might offer to add a debit card to your account. If you’re not ready for this step or prefer to add a different payment method later, simply tap “Not now” or “Try later” to continue.
After completing these steps, your basic Venmo account setup is complete, though you’ll still need to verify your identity and link payment methods before making transactions.
Step 3: Verify Your Identity and Contact Info
After creating your basic account, verifying your identity and contact information is a crucial next step in your Venmo setup process. This verification enhances your account security and unlocks the full functionality of the platform.
Phone number verification
Upon signing up or updating your phone number on Venmo, the app automatically sends a six-digit verification code via text message to your device. This message comes from a five-digit number (86753) and requires prompt entry in the app to confirm your phone ownership.
If you don’t receive the verification code:
- Go to the Me tab in the Venmo app
- Tap the Settings gear icon
- Select Account
- Tap Phone Number and enter your number again to request a new code
For persistent issues with verification texts, try texting “START” to 86753 to ensure you’re allowing messages from Venmo. Additionally, check with your phone provider to confirm short code messaging is enabled on your plan.
Important security note: Never share your verification code with anyone. Venmo will never ask for your six-digit code via phone call, text message, email, or chat.
Email confirmation
Simultaneously, Venmo sends a verification message to your registered email address. Simply click the link within this email to confirm ownership. Unlike other verification systems, replying directly to the email won’t complete the verification process.
Should the verification email not appear in your inbox:
- Check your spam or junk folders
- Search your inbox for “Venmo”
- Ensure you entered your email address correctly during signup
Verifying both your phone number and email address is essential – unverified contact information may prevent you from receiving payments and important account notifications.
Why verification is important
Completing identity verification on Venmo serves multiple important purposes beyond basic contact confirmation. Primarily, federal regulations under the USA Patriot Act require Venmo, as a money transfer service, to implement a Customer Identification Program to verify users’ identities.
Venmo collects and validates several pieces of personal information:
- Legal first and last name
- Home address
- Date of birth
- Social Security Number (SSN) or Individual Taxpayer Identification Number (ITIN)
In some cases, Venmo may request additional documentation such as a U.S. passport or driver’s license if your identity cannot be automatically verified.
Moreover, identity verification substantially increases what you can do with your account. Without completing this process, Venmo places significant restrictions on your account:
- You cannot send more than $300 in any seven-day period
- You cannot transfer more than $1,000 to your bank account in a week
- You cannot maintain a balance in your Venmo account
- You cannot manage group accounts
- You cannot receive payments for goods and services
Consequently, while you can technically use Venmo without identity verification, the functionality becomes extremely limited.
Completing verification also enhances security for everyone in the Venmo network. By knowing the identity of each user, the platform can better prevent scams and fraud. If someone takes your money through a scam, proper identity verification helps authorities track down the perpetrator.
To begin the identity verification process:
- Go to the Me tab
- Tap the Settings gear
- Tap Identity Verification
- Enter and submit the required information
Upon submission, verification typically takes up to three business days to complete. Thereafter, you’ll have full access to all Venmo features and higher transaction limits.
Step 4: Link a Bank Account or Card
Now that your identity is verified, linking a payment method is essential for sending and receiving money through Venmo. The app offers multiple options, primarily focusing on connecting your bank account or cards.
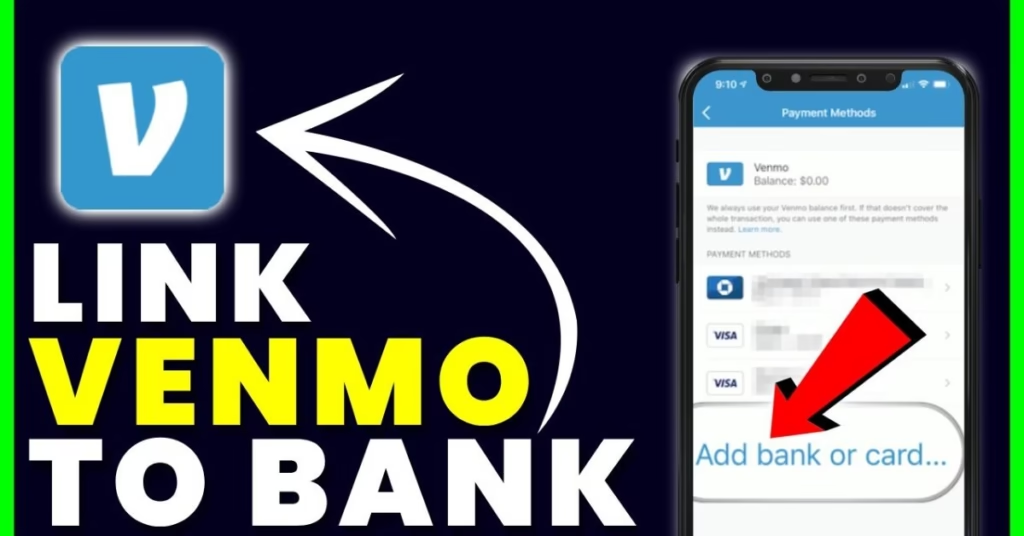
Instant vs manual verification
Venmo provides two methods to verify your bank account:
Instant Verification: This method uses Plaid, a secure third-party service, to immediately verify your bank details. You’ll simply log in to your online banking through Venmo’s interface. This process typically completes within minutes, making it the most convenient option for users with major US banks.
Manual Verification: If you prefer not sharing your banking credentials or your bank doesn’t support Plaid, you can opt for manual verification. Venmo will send two small deposits (less than $1.00 each) to your account, which you’ll need to confirm in the app. This process takes 1-3 business days to complete. Ensure you have at least $2.00 in your account to avoid potential overdraft fees.
Using Plaid for secure connection
Plaid acts as a secure intermediary between Venmo and your banking institution. When you choose instant verification, Plaid:
- Verifies your bank account information
- Periodically checks your balance to ensure you have sufficient funds
- Uses encryption and multi-factor authentication to protect your data
According to many financial experts, Plaid is considered safe and is utilized by thousands of financial institutions. However, if you’re uncomfortable sharing your banking credentials, manual verification remains a viable alternative.
Can you use Venmo without a bank account?
Yes, you can use Venmo without linking a bank account. Alternative options include:
- Link a debit or credit card: Venmo accepts Visa, Mastercard, Discover, American Express, and many prepaid cards. Note that PayPal cards cannot be added to your Venmo account.
- Set up direct deposit: You can receive your paycheck or government payments directly to your Venmo account by providing your employer with your Venmo routing and account numbers.
Remember that using a debit card instead of a bank account limits how much you can add to your account—$2,000 weekly with a card versus $10,000 with a bank account.
Step 5: Customize and Start Using Venmo
With your account verified and payment methods connected, it’s time to personalize your Venmo experience and start making transactions. Personalizing your profile helps friends identify you easily and builds trust when exchanging money.
Add a profile picture and username
Your username serves as your unique identifier on Venmo, making it easier for others to find and pay you. To check or modify your username:
- Navigate to the Me tab
- Tap the Settings gear in the top right corner
- Select Account, then Profile
- Update your username in the designated field
- Save your changes
Remember that usernames must be between 5-30 characters and can only include letters, numbers, hyphens, and underscores.
For adding a profile picture, tap your profile image (or the placeholder), then select either “Take a Photo” or “Choose from Library.” A clear, recognizable image helps friends confirm they’re sending money to the right person.
Sync contacts or skip
Upon completion of basic setup, Venmo offers to sync your device contacts. This feature:
- Improves search results when looking for friends
- Enables you to invite contacts to join Venmo
- Makes finding payment recipients easier
To manually sync contacts after initial setup:
- Go to Pay/Request or Search
- Tap “Sync your contacts”
- Tap Allow when prompted
Importantly, Venmo no longer automatically adds your contacts as friends (a change made in 2022). You’ll need to manually add friends even after syncing. To disable contact access later, simply adjust permissions in your device settings.
Make your first payment or request
Finally, you’re ready to initiate your first transaction. To send money or request payment:
- Tap Pay/Request at the bottom of your screen
- Use the search bar to find your recipient by name, username, phone number, or email
- Enter the amount you wish to send or request
- Add a note describing what the payment is for
- Tap “Pay” or “Request”
For quicker access to frequent contacts, Venmo displays avatar shortcuts at the top of your Home tab. Always double-check recipient details before sending money, especially when using email or phone number instead of username.
You can even pay multiple people simultaneously by tapping the plus icon (+) next to the first recipient’s name and adding additional recipients. Venmo then splits the total amount evenly unless you specify different amounts.
Conclusion
Setting up a Venmo account takes just a few minutes but opens up a world of convenient digital payment options. After following these five simple steps, you’ll join the 60+ million users who make peer-to-peer transactions without the hassle of cash or checks.
Your journey starts with downloading the app and creating your account, then moves through identity verification—a crucial step that unlocks Venmo’s full functionality. Additionally, linking your preferred payment method gives you flexibility, whether you choose a bank account for higher transfer limits or opt for a card-only approach.
Remember to personalize your profile with a recognizable username and photo. This small step significantly improves your friends’ ability to find and pay you quickly. Likewise, syncing your contacts streamlines the process of finding recipients for your transactions.
The beauty of Venmo lies in its simplicity. You can split dinner bills, pay your portion of rent, or send money to family members with just a few taps. Though built with strong security measures, always double-check recipient details before completing any transaction.
Undoubtedly, Venmo has transformed how we exchange money in our increasingly digital world. Now that you’ve set up your account correctly, you can enjoy fast, secure, and social payments anytime you need to send or receive funds. For more tech tips and app reviews, check out Fletchapp.com to stay ahead in the world of technology!
Follow us on Instagram and Twitter/X!
FAQs
Q1. Is Venmo safe to use for money transfers?
Venmo employs strong security measures, including encryption and identity verification, to protect users’ financial information and transactions. However, it’s important to always double-check recipient details before sending money and never share your verification codes with anyone.
Q2. Can I use Venmo without linking a bank account?
Yes, you can use Venmo without linking a bank account. You have the option to link a debit or credit card instead, or set up direct deposit to receive funds directly into your Venmo account. However, using a card may limit the amount you can add to your account compared to a linked bank account.
Q3. What are the requirements for setting up a Venmo account?
To set up a Venmo account, you need a smartphone with a compatible operating system (iOS 14.0+ or Android 6.0+), a U.S.-based phone number that can receive text messages, and you must be physically located in the United States. You’ll also need to provide personal information for identity verification.
Q4. How long does it take to verify my identity on Venmo?
Identity verification on Venmo typically takes up to three business days to complete after submitting the required information. This process is necessary to comply with federal regulations and unlock full account functionality, including higher transaction limits.
Q5. Can I send money to multiple people at once on Venmo?
Yes, Venmo allows you to send money to multiple recipients in a single transaction. You can add multiple recipients when initiating a payment and even split the total amount evenly or specify different amounts for each person.

